If you told me that of all the dies that I own I could keep only one , without any hesitation I would choose this one: the Crayon Box! I USE IT ALL THE TIME!
I will actually have several examples of how I use it but I'll just show a couple here, today.
This idea started with a cereal box. Am I the only one that has a HARD time throwing that PERFECT cardboard away?? Well, today I decided to use some up by making a set of children's personalized memory cards.
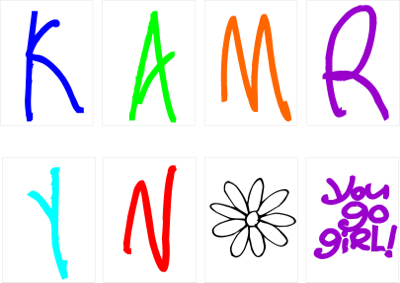
the thing that makes these even more special is that this is Kamryn's actual handwriting. I made a True Type Font out of it sometime last year.
The Steps I used were as follows:
1. made printed out two sheets of large letters: (you could skip this step and let your child write each letter of their name directly onto a blank card.
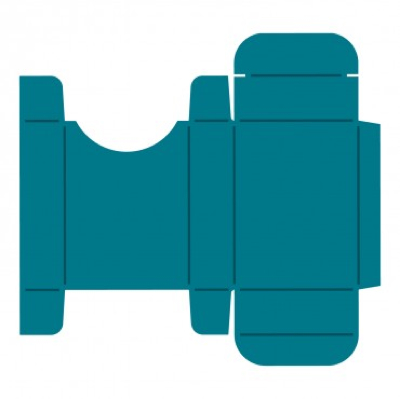
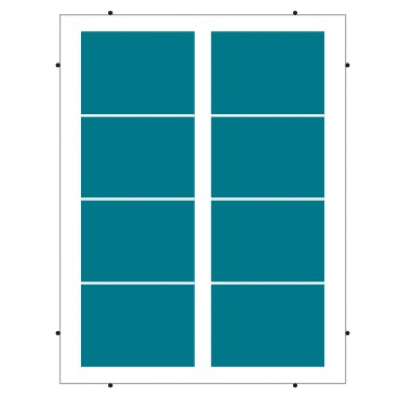
then I cut the cereal box up using a "playing card" die from AccuCut ... because I have one... but it is a 2.5"x3.5" card with round corners... easy enough to recreate without a die. However, now that I think of it.... an even better solution is to use the Escort Card Pinnovations Die,
I could have glued the printed page down onto the cereal box and quick and easy punched all eight cards at one time! They are a bit smaller at 2.5" x 3.375" but we are talking kids here and they won't care. Normally, it would make me crazy if something wasn't just perfect, but, hey.... quicker/easier trumps perfect in this case!
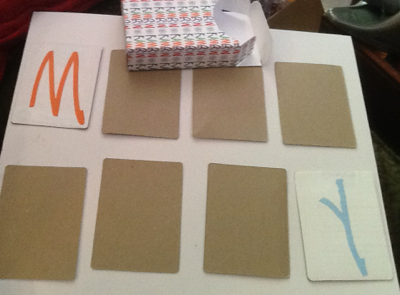
Anyway, this is what I had at this point:
Ewwwww... kinda plain! So I went back to the drawing board and printed out a couple more sheets of the pattern I had made for the box, cut/ glued and ta-da:
As I was making this set I was thinking how much fun it would be to make a different personalized set for each child as a party favor. Now for idea number 2 of my "Keep'em Busy" ideas
This time I cut a clear box out of acrylic and used it for its intended purpose... crayons... and then some...
I cut 3.5" x 5" pieces from my pattered paper and from plain typing/copy paper then used my sewing machine to stitch the pages (about 10) together, then folded them in half to create the perfect little drawing tablets. I also included a little pen because kids LOVE pens!
Again, I think these would make great party favors. And, I would think that mothers would love having either of these ideas in their purse or glove compartment to help keep the kids occupied.